Wednesday, March 19, 2014

Adirondack Patterns and Handmade Babies 4th Anniversary of Being in Business!!!

Adirondack Patterns:The Growth of A Handmade Business

This week we reached some HUGE milestones as small business owners.  We celebrated our Fourth Year in Business, almost reached the 3000 sales mark, obtained over 750 Facebook Followers, and have over 1200 ETSY followers! All with picture perfect feedback!!! 

It is amazing how far that we have come, and how much our business has grown.  
Here are the sales for our first month in business March-April 2010 a whopping 12 sales!
Slowly but surely we sold 198 orders for that year, and added a few more patterns to the shop. In total we had approximately 30 patterns in the shop by our first year anniversary.
Exciting right?
2011 was a landmark year! I had a new baby, Hayden,  and therefore we had a new muse! We inundated our fledgling shop with new patterns, inspired by that babe.
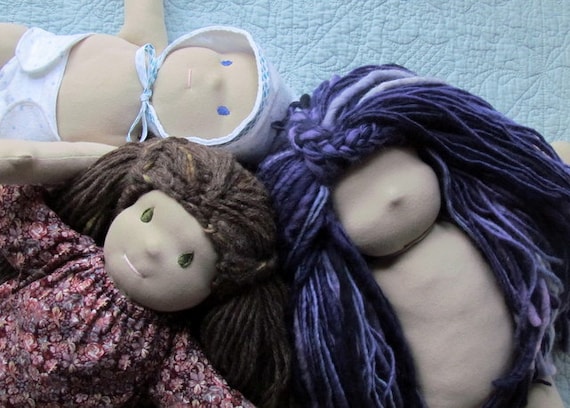
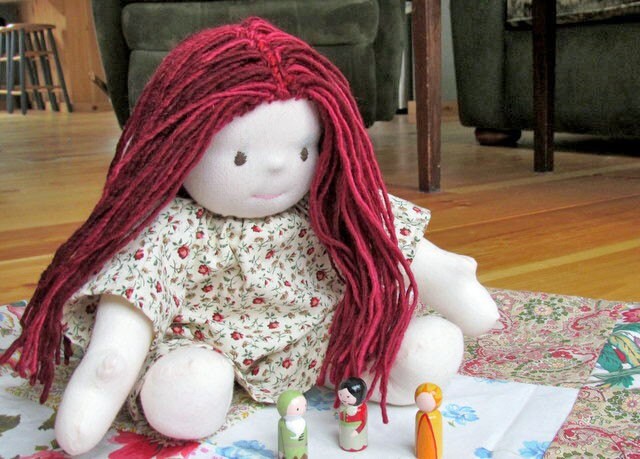
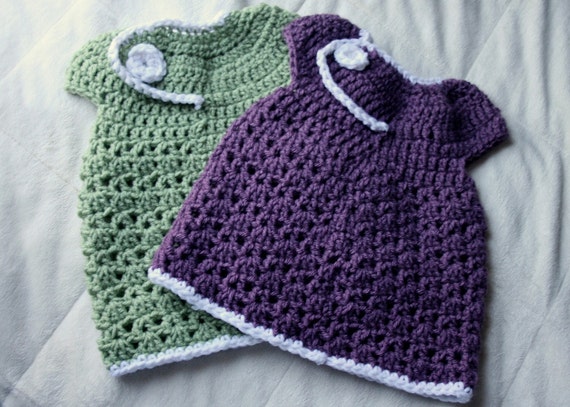
 Julia's Waldorf doll patterns became more coveted and perfected, and we started advertising a bit with various blogs who emulated what we liked, or thought we would be a good fit with them. 
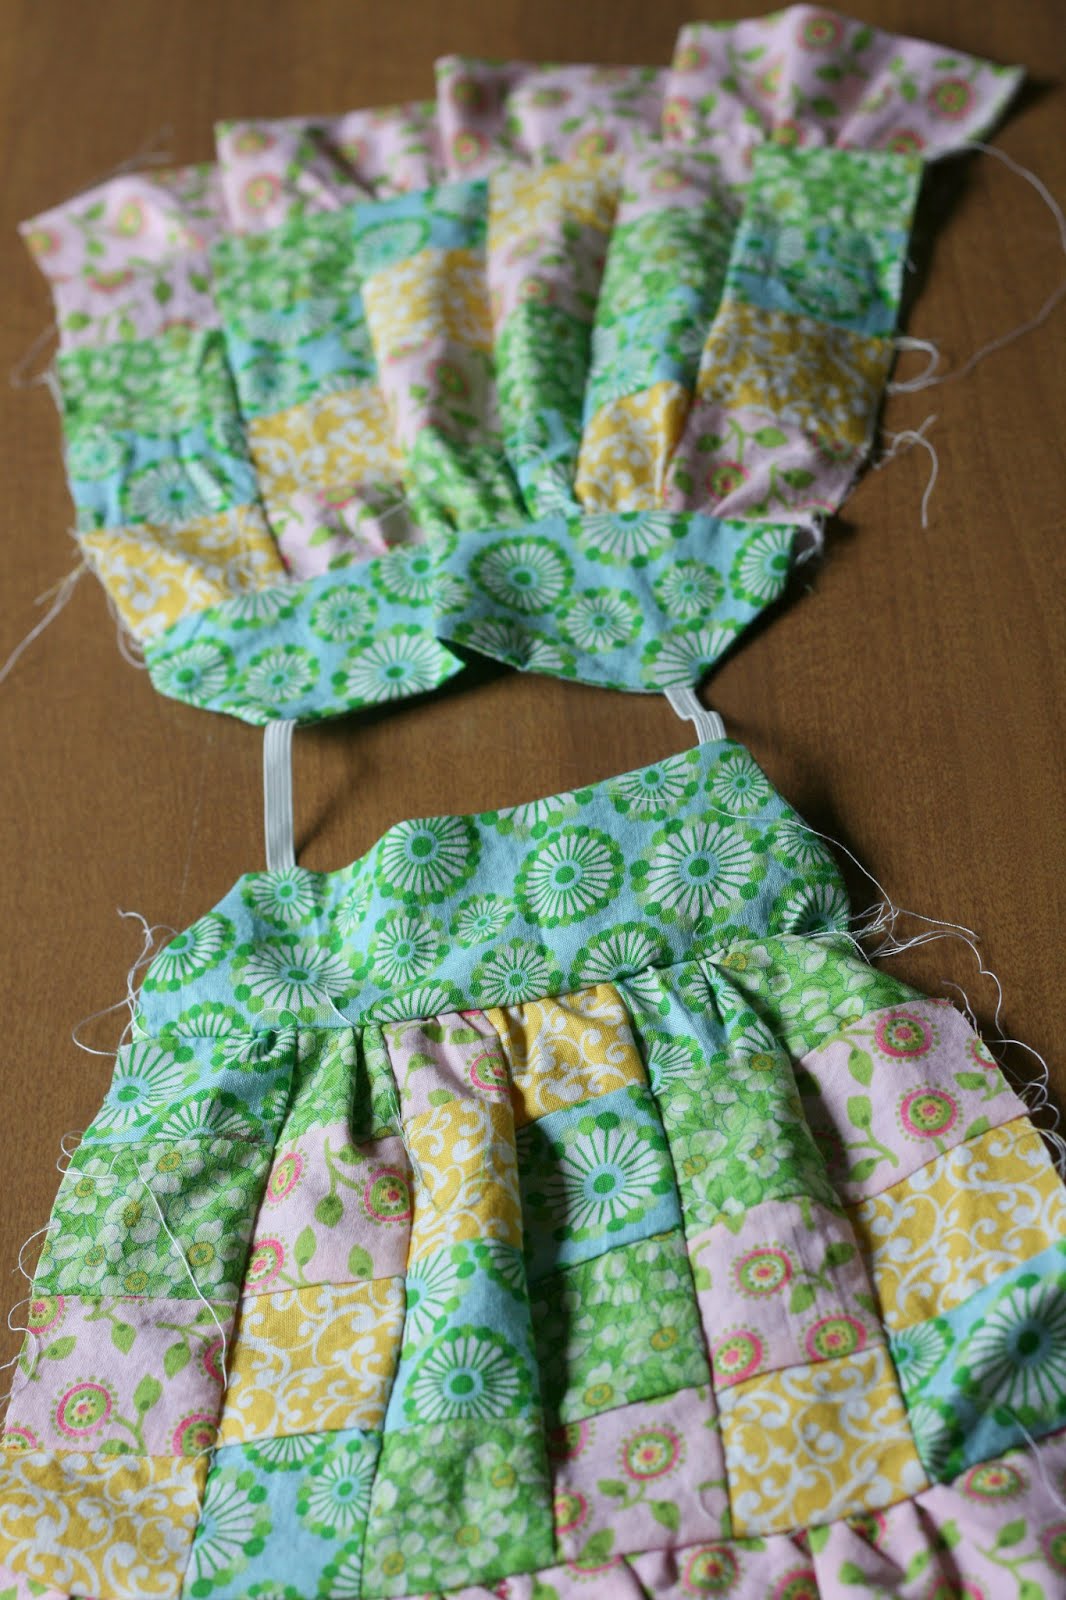
Here are some of the patterns born that year!
The advertising worked, and the views of our shop for 2011-2012 year were over 57,000! Sales totaled 652 for that year alone~and business was as they say...booming!
More exciting, right?
Well, little did we know, 2012-2013 would be the biggest year yet!
Our traffic increased to over 90,000 hits, and our sales were over 800 orders!
Advertising continued to be our major source of traffic for 2012-2013 with a majority of the traffic coming from buttons we had on lovely blogs like Rhythm of The Home, Small Things, French Press Knits, and Smashed Peas and Carrots. 
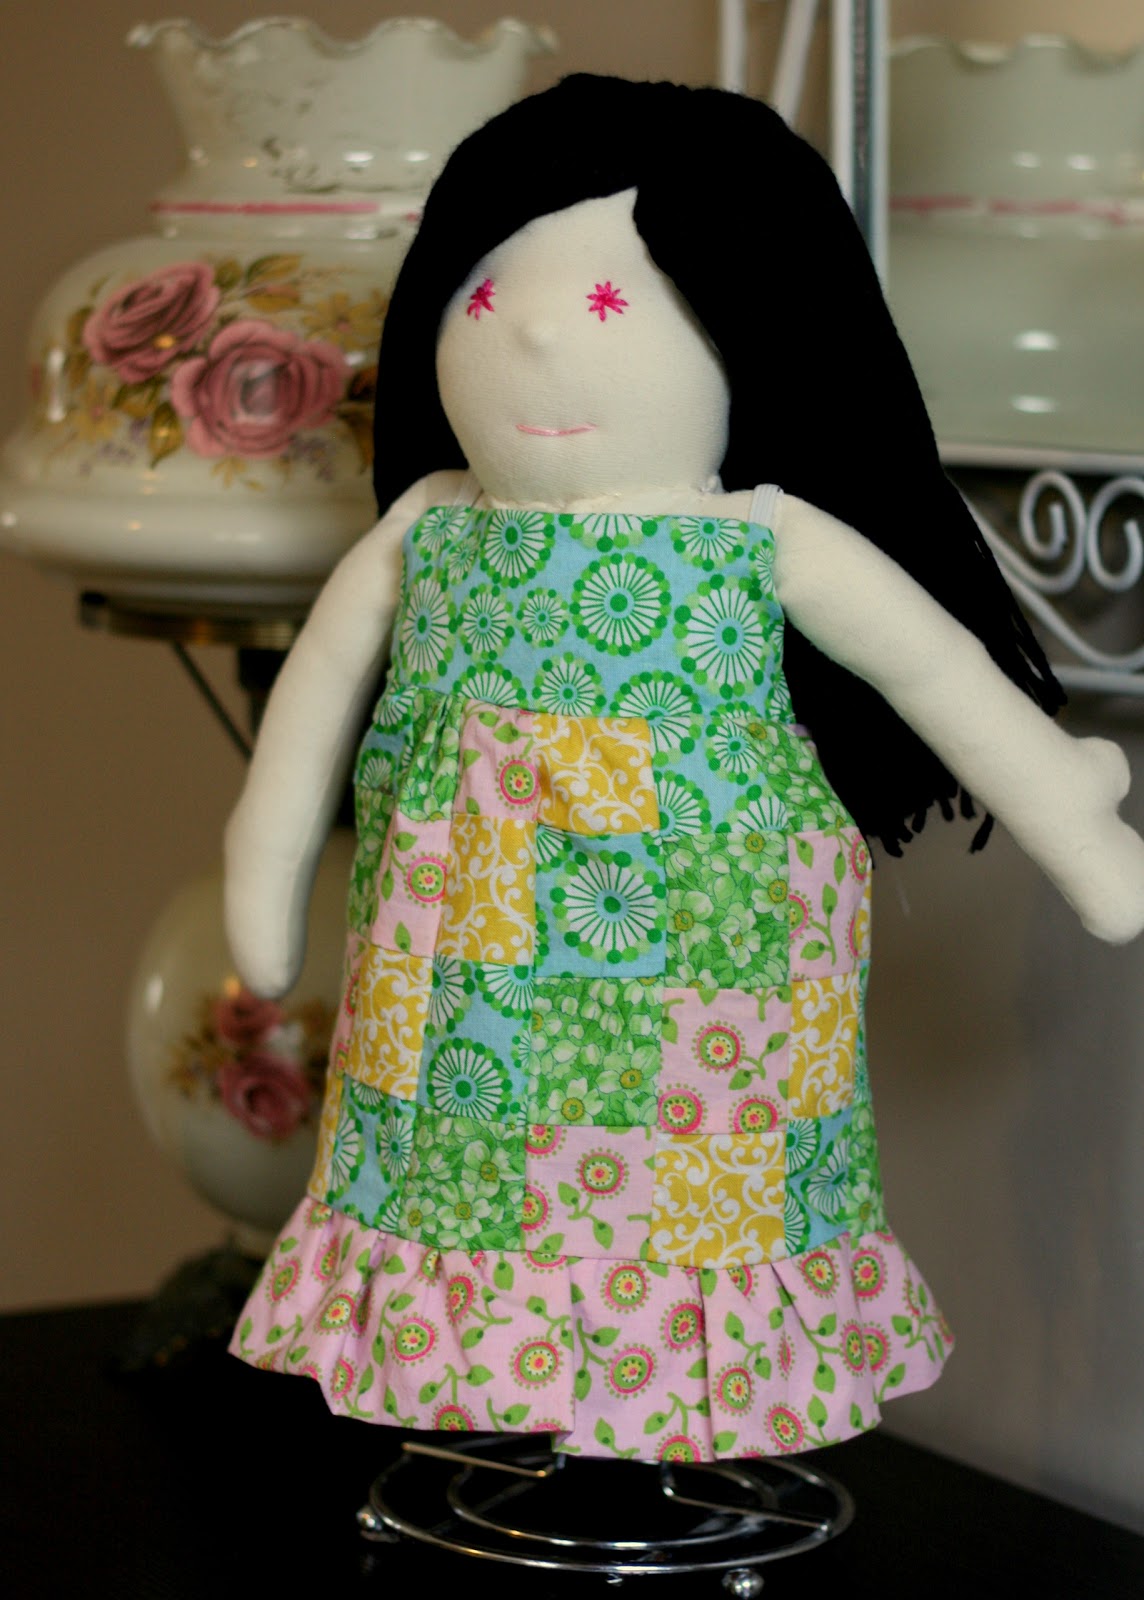
Julia's Waldorf Doll Patterns seemed to be the "it" pattern for simple Waldorf Dolls, and word of mouth spread in the Waldorf World! Ravelry turned out to be a huge traffic source for our crochet patterns as well. We were selling internationally, with one of our biggest countries of sales being Australia!
We started a Facebook Page to help obtain more fans, and spread the word of mouth in the social media forum.  
Now we have over 750 fans!!!
The feedback we received over the years was crucial to the success of our shop, we love to hear what people have to say about our patterns! 

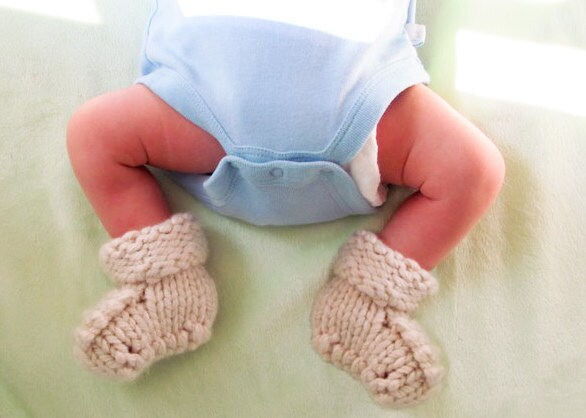
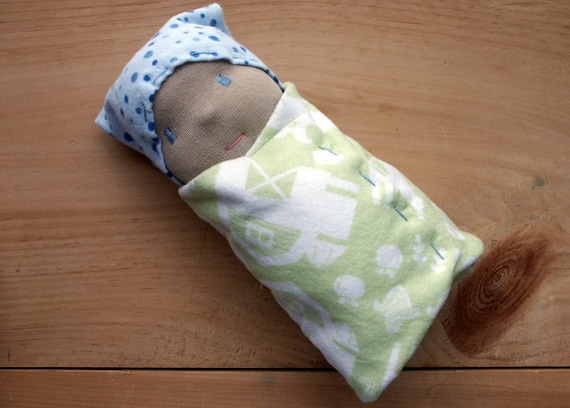
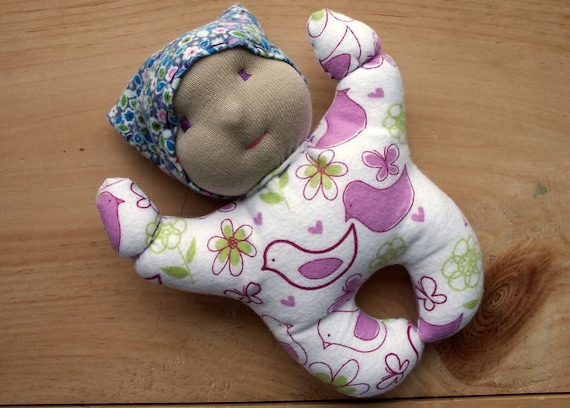
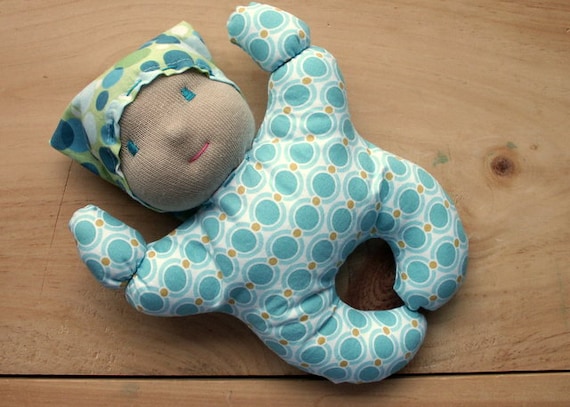
After much research, and soul searching we decided to put handmade swaddle and baby dolls in the shop in 2013! 
Here are a few of the babes we sold!
A custom order

The end of 2013 was a bit rocky. After a family tragedy and a decline in health of a loved one we found that we had less and less time for doll making and pattern creating, so we decided to just let the shop "do it's thing.  
That left a hole in our creative lives and opened up a door that had been closed a few years ago. One of our passions that we had let go by the wayside ... craft fairs!!!!!

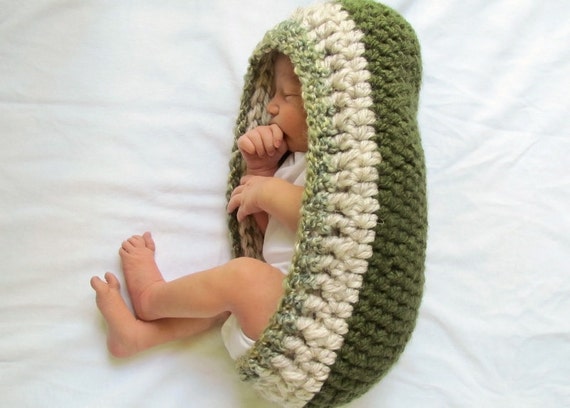
So we pulled out our goodies, and whipped up some cute little babies to sell locally! 


 I also decided to begin selling hats and cozies made from my own patterns.


Julia made some precious little baby ornaments too!


And so we craft faired!!!


The craft fairs and the feedback we received was amazing.  It made us realize that we really want to sell our goods locally, but make it on our own time. 

Family and kids are our main focus these days.  If the creative, or crafty bug bites and we have the time then we would love to do the occasional craft fair, or put some sweet babes in the shop. 

We are very excited for what the future has to bring! More creativity, a little more love, and many more little babies and goodies to ponder, and of course meeting more new customers!
Thanks for liking us, and for reading this. Your support is so encouraging!
As a thank you, please use our 20% discount coupon code on any orders from our shop through the weekend! 
Enter code FOUR20 at checkout.
Sincerely, Laura and Julia

Monday, May 21, 2012

Sew Mama Sew GIVEAWAY!!!!

So! I'm partaking in yet another giveaway day with Sew Mama Sew.... 
YAY!
Who doesn't like a giveaway?  Right?
I am giving FOUR readers the choice of any ONE pattern in our store!  
A bit about our store.

Adirondack Patterns is a collaboration between twin sisters Laura and Julia who's love of sewing and crafting for their children expanded into the creation of a store. Over the past 2 years, AdirondackPatterns has grown to include over 60 patterns and tutorials; including those on cloth diaper sewing, complete instructions on several variations of Waldorf dolls, clothing tutorials, and accessories for little ones. All of the patterns and tutorials are very simple to follow and almost all of them have detailed photos for every step of the process.

"Our sole purpose in sharing our tutorials at reasonable prices is to inspire and make it possible for other Mama’s to create handmade goods and toys for their little ones. Because every wee one deserves to have something handmade with love." 
 A smattering of our patterns...

Easy newborn earflap hat pattern


DISCOUNT PACKAGE.... Complete Waldorf doll pattern and tutorial package for doll hair and dress


And MANY MORE PATTERNS!!!!!
 ::::::::
For a chance to win please leave a comment ( with your email address ) on this post. For an additional chance to win, either "favorite" Adirondack Patterns shop OR "like" our facebook page and leave an additional comment letting me know you did so! 
The giveaway will be open for one week. I will randomly choose the winners and we will contact the winner via email.

Monday, April 9, 2012

Free Easy Patchwork Waldorf Doll Summer Dress Pattern

Today, we are happy to share a pattern from our shop FOR FREE with our BLOG followers! Just in time for Spring and Summer, we know how those little Waldorf lasies love to change up their wardrobe! So, with that, here is the pattern for our newest pattern, the Patchwork Dress!


A super simple and detailed tutorial for making a darling dress for your Waldorf inspired doll.

Imagine the color combinations! The dress is secured with elastic straps.

This dress, as instructed in this tutorial and using the template... fits a doll with a around the chest circumference of 13 inches.

If you have a larger or a smaller doll, you can easily adjust the template by adding length at the arm pit measurements or the length of the squares, trim, etc.

It's only 6 pieces, front and back, so there is no struggling with arm sleeve attachments, etc.


Patchwork Dress Pattern/Tutorial


Click on the picture directly below this text and print the picture: You want to make sure it is 100% filling the 8.5 X 11 inch page in order for the bodice piece (Upper Left Corner) to be the correct size.

Please note: for the bodice pattern~I used another fabric for another dress, I took pictures of this pattern, and not the one shown in the actual dress picture. Sorry for the confusion, camera issues! (battery was charging for the beginning of the dress making ;)

NOTE:  There is a 1/4 inch seam allowance, while cutting out your fabric, if you need more than this, just increase as needed.
Bodice:
Cut 4 total pieces of this bodice piece. Cut around the red lines as shown in the photo below.  Make sure the long edge of the template is on the fold.
Lay 2 of the pieces right side up.
Flip the top piece wrong side up, and place over the other piece as shown.
Cut 2 pieces of elastic with measurements shown in photo below.
NOTE!  If you like tighter shoulder straps, you can use a 3 inch piece of elastic. Also, you can use plain ribbon here instead of the elastic, this makes for a prettier strap if desired.  just remember that the ribbon doesn’t stretch so measure it over the doll’’s shoulders before you sew it into place.
Sandwich the elastic in between the two pieces of fabric (as shown), and pin in place.
Sew around the red outlined sides as shown below.
Turn right side out.
Push insides of all corners out with pencil.
Place the elastic over the top of another RIGHT side out piece of bodice.
Place another piece of bodice over the elastic as you did for the first pieces.
Pin the elastic in place to the piece of bodice.
Sew around the perimeter as you did before.
Turn this piece right side out also, and push corners out again.

SKIRT PATTERN:
Choose 4 separate complimenting fabrics to the color you chose for the bodice
Cut out a 2 ¾ in X 2 ¾ in square (this is the patchwork template)
Now, cut out 12 pieces of each of the 4 fabrics
Place in a diagonal pattern (continuing in the same sequence for each row, as shown here), or you can choose your own pattern if you like.
I have applied a number to each fabric for ease of placement

Do the same for the other side of the skirt, MAKE SURE YOU CONTINUE IN THE SAME SEQUENCE SO YOUR SEAMS MEET UP WITH THE PATTERN CONTINUOUSLY

Sew the first row of 4 together, beginning at the top square, and working down


You are going to do this for each row, making sure you keep them in the same order.  Do this for the front and back pieces of the skirt. Make sure you keep the two sides separate though.

Now, iron all of your rows of 4 flat, this will make it easier to sew the rows of 4 together

Sew the rows together, as shown below

Then, iron flat again, and sew another row of 4 to that piece you just sewed

Continue along until you have all rows of 4 sewn to eachother for the front and back pieces

Now, make sure your pieces follow the pattern at the seam, as shown below, this will make for a more continuous look to the dress!

Now, take a piece of one of the fabrics you used on the dress, and fold it in half length wisel. The total dimensions of the folded fabric will be as follows. Please, make this piece as wide as you like!
21 in. length, by 2 in. width

The right side (above) will be the hem of the dress, but since it is already a finished edge, you need no seaming!
Now, gather (make ruffled) the skirt and trim pieces using a basting stitch along the top edge of both of the skirt pieces, and long the unfinished raw edge of each trim piece (make sure you get both pieces of the edge fabric in the basting stitch)
This is how things should look now

Flip the gathered trim up onto the right side of the bottom of the front skirt piece, and spread evenly along, pinning in place.
Sew the two together making sure that the basting stitch is included in the seam allowance so it doesn’t show when the trim is folded back down
See below

See, no basting stitch showing!

Do the same for the back piece, and iron all pieces flat
Now, take the bodice, and lay flat with the skirt in place below

Then, flip the skirt upon the bodice right side, and spread evenly along the bodice edge, pin in place and sew as you did the skirt trim.

Fold back over, iron in place, and repeat the steps above for the other dress pieces
this is how it should look now

Flip the two dress pieces on top of each other, right sides together.  you are now going to seam the sides of the dress together to finish the dress.  As you are pinning the seam together, make sure that where the seams of the dress pieces are (bodice to skirt, and skirt to trim) meet the twin of it on the other side of the dress for a more finished product.
Sew along the line as shown below

This is how it should look now

Do the same for the other side
Then trim your loose threads, and turn right side out
See...PERFECT SIDE SEAM!!!

Put on the doll from the feet up, and then tuck the arms in. This avoids messing up their lovely hair!
ENJOY~WE WOULD LOVE TO SEE YOUR FINISHED PROJECTS!!!!!
EMAIL ME PICS IF YOU LIKE AT SAMTHEHAMSMOM@GMAIL.COM
OR POST ON FACEBOOK
https://www.facebook.com/pages/Adirondack-Patterns/139921469407356